


Welcome to our comprehensive guide on photography tips for beginners! Whether you’ve just purchased your first camera or have been dabbling in photography for a while, this blog post will provide you with valuable insights and techniques to take your skills to the next level.
Let’s dive right in and discover how you can transform from a novice photographer into a pro.
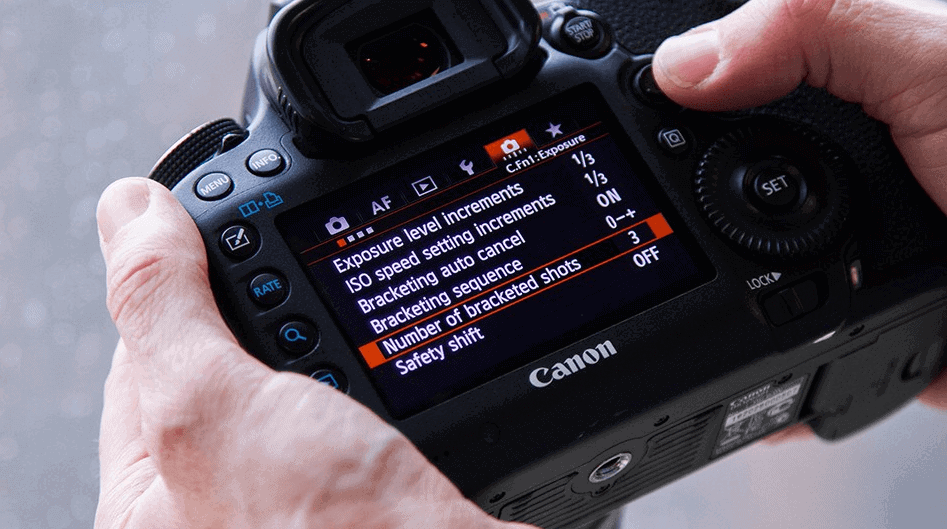
Understand Your Camera
Before you begin capturing stunning images, it’s essential to familiarize yourself with your camera’s features and settings. Read the manual thoroughly, experiment with different modes, and learn about aperture, shutter speed, ISO, and white balance. Understanding these fundamental concepts will enable you to have greater control over your photographs.
Master Composition Techniques
Composition plays a vital role in creating visually appealing images. Some essential composition techniques to keep in mind are:
- Rule of Thirds: Divide your frame into a grid of nine equal parts and place your subject along the intersections or along the lines to create a balanced composition.
- Leading Lines: Utilize lines in your scene, such as roads, bridges, or even tree branches, to guide the viewer’s eye towards the main subject.
- Framing: Use elements in your environment, such as archways, doorways, or natural frames, to frame your subject and draw attention to it.
Experiment with Lighting
Lighting is a crucial aspect of photography. Try shooting during different times of the day to understand how lighting conditions affect your images. Golden hour (early morning or late afternoon) provides soft and warm light, ideal for landscapes and portraits. Harsh midday sunlight can cast unflattering shadows, so consider using diffusers or finding shaded areas. Experimenting with different lighting scenarios will help you develop an eye for capturing the perfect light.
Learn to Shoot in Manual Mode
While automatic modes can be convenient, mastering manual mode gives you complete control over your camera settings. Experiment with adjusting aperture, shutter speed, and ISO individually to achieve the desired exposure and creative effects. Manual mode allows you to capture images tailored to your artistic vision.
Focus and Sharpness
Achieving sharp focus is crucial for professional-looking photographs. Learn to use autofocus effectively, but don’t rely solely on it. Experiment with manual focus and practice achieving sharpness in different situations. Pay attention to the focus point and depth of field to ensure your subject stands out.
Post-Processing
Post-processing can elevate your images to the next level. Familiarize yourself with editing software such as Adobe Lightroom or Photoshop. Learn basic adjustments like exposure, contrast, color correction, and cropping to enhance your photos without overdoing it. Remember, post-processing should enhance your images, not completely alter them.
Practice, Practice, Practice
One of the best ways to improve your photography skills is through practice. Take your camera with you wherever you go and capture different subjects, experiment with various techniques, and review your images critically. Learn from your mistakes and continue honing your skills.
FAQs
What type of camera should I buy as a beginner?
Choosing the right camera as a beginner can be overwhelming. Consider investing in an entry-level DSLR or mirrorless camera. Look for models that offer manual control, interchangeable lenses, and a user-friendly interface. Research different options, read reviews, and seek recommendations based on your budget and photography interests.
How can I take sharp and focused photos?
Achieving sharp and focused photos requires attention to detail. Utilize autofocus or manually adjust focus points to ensure accurate focus. To minimize camera shake, use a tripod or stabilize your camera against a solid surface. Additionally, select an appropriate shutter speed to avoid motion blur, and consider using a smaller aperture (higher f-number) to increase the depth of field.
What is the best lighting for indoor photography?
Indoor photography can be challenging due to limited natural light. Make the most of available light by positioning your subject near windows or doors, utilizing soft and diffused lighting. Experiment with artificial lighting options such as off-camera flashes or continuous lighting kits to control and enhance the lighting conditions according to your creative vision.
How can I capture stunning landscape photographs?
Landscape photography allows us to capture the beauty of nature. To create stunning landscape photographs, pay attention to composition. Incorporate elements like leading lines, foreground interest, and the rule of thirds. Shooting during the golden hour (early morning or late afternoon) can provide warm, soft light that adds depth and dimension to your photos.
How do I achieve a blurred background (shallow depth of field)?
A blurred background, also known as a shallow depth of field, can add a sense of depth and make your subject stand out. Achieve this effect by using a wide aperture (small f-number). Position your subject farther away from the background to maximize the blur and create a pleasing bokeh effect.
What are the advantages of shooting in RAW format?
Shooting in RAW format offers several advantages. RAW files contain uncompressed image data, preserving maximum information and flexibility during post-processing. This format allows for more extensive adjustments to exposure, white balance, and other settings without compromising image quality. Keep in mind that RAW files require processing using software like Adobe Lightroom or Photoshop.
How can I improve my portrait photography?
To enhance your portrait photography, focus on capturing the subject’s personality and emotions. Experiment with different poses, angles, and lighting techniques. Use a wide aperture to create a pleasing background blur, and communicate with your subject to make them feel comfortable and natural in front of the camera.
What is the rule of thirds, and how can I apply it?
The rule of thirds is a composition guideline that divides the frame into nine equal parts using two horizontal and two vertical lines. Place key elements of your photo along these lines or at the intersections to create a visually balanced and engaging composition.
What are the best photo editing software options?
Adobe Lightroom and Adobe Photoshop are popular choices for photo editing. Lightroom provides a user-friendly interface for organizing, enhancing, and retouching your images. Photoshop offers more advanced editing tools and allows for intricate manipulation and creative effects. Explore these software options and find one that suits your editing needs and preferences.


